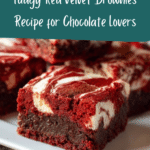
Red Velvet Brownies Recipe
Introduction
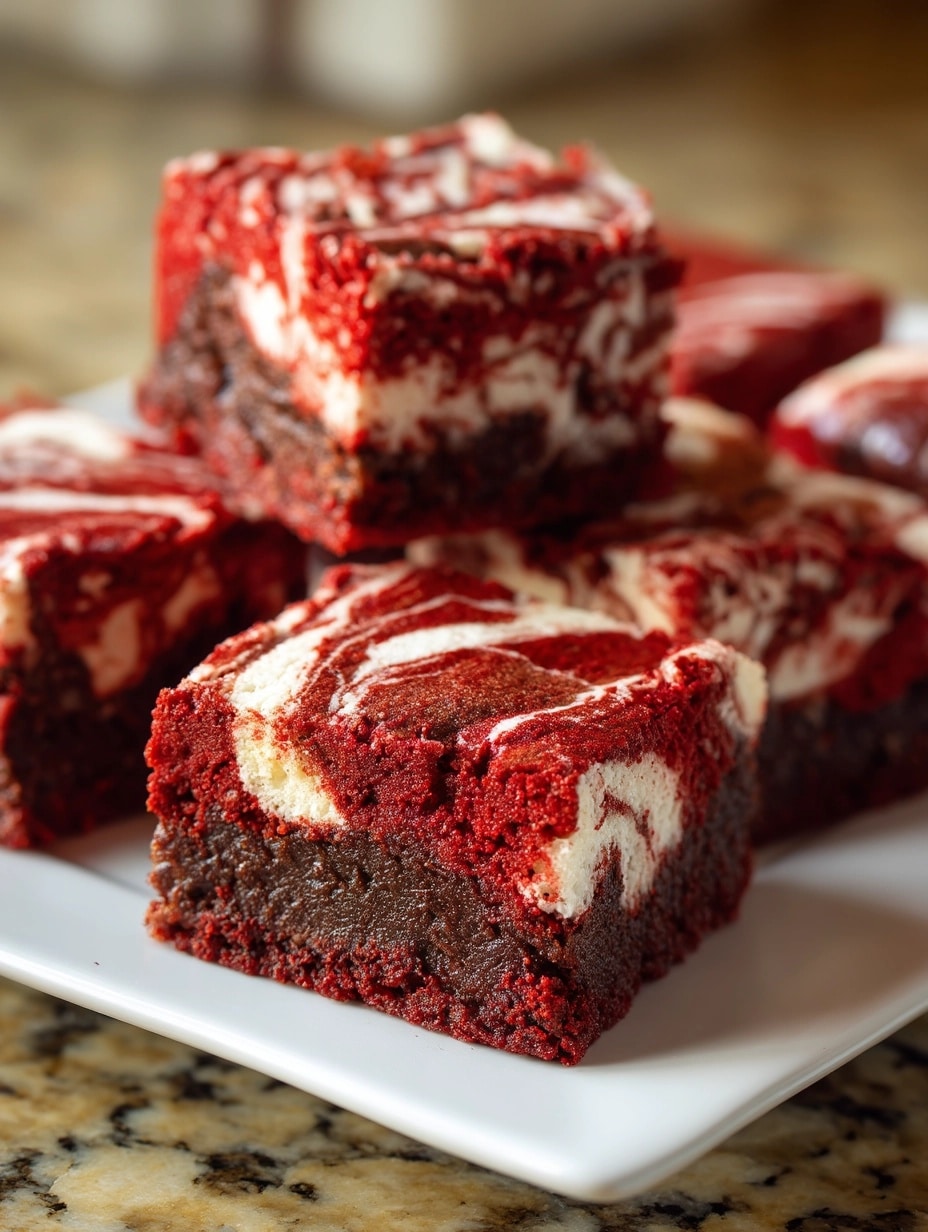
Red Velvet Brownies combine the rich, velvety texture of a classic brownie with the vibrant color and subtle flavor of red velvet cake. They make a delightful twist on traditional brownies, perfect for special occasions or whenever you want a treat that looks as good as it tastes.
Ingredients
- 1/2 cup butter
- 1 cup sugar
- 2 eggs
- 2 tablespoons cocoa powder
- 1 tablespoon red food coloring
- 3/4 cup all-purpose flour
Instructions
- Step 1: Preheat your oven to 350°F (175°C). In a mixing bowl, melt the butter and combine it with sugar, eggs, and red food coloring. Stir well until fully blended.
- Step 2: Sift together the cocoa powder and flour, then gradually add them to the wet ingredients. Stir gently until just combined to avoid overmixing.
- Step 3: Pour the batter into a greased or lined baking pan. Bake for 20-25 minutes, or until the brownies are fudgy but set in the center. Allow to cool before cutting into squares.
Tips & Variations
- For a richer flavor, use unsalted butter and add a pinch of salt to balance the sweetness.
- Try adding a handful of white chocolate chips or cream cheese swirls for extra indulgence.
- Use gel-based red food coloring to achieve a deeper red without altering the batter’s consistency.
Storage
Store red velvet brownies in an airtight container at room temperature for up to 3 days. For longer storage, refrigerate for up to a week or freeze for up to 3 months. Reheat briefly in the microwave to enjoy warm.
How to Serve
Serve this delicious recipe with your favorite sides.
FAQs
Can I use regular cocoa powder instead of Dutch-processed?
Yes, regular cocoa powder works fine but may slightly affect the color and acidity. The brownies will still be delicious either way.
How can I make the brownies more moist?
Adding an extra egg or a tablespoon of sour cream can make the brownies moister and more tender without changing the flavor significantly.
PrintRed Velvet Brownies Recipe

These decadent Red Velvet Brownies combine the rich, fudgy texture of classic brownies with the vibrant color and subtle cocoa flavor of red velvet cake. Perfectly moist and dense, they’re a delightful twist on traditional brownies that make for an impressive dessert or treat any time of the year.
- Prep Time: 10 minutes
- Cook Time: 25 minutes
- Total Time: 35 minutes
- Yield: 9 brownies (3×3-inch pieces) 1x
- Category: Dessert
- Method: Baking
- Cuisine: American
Ingredients
Wet Ingredients
- 1/2 cup (115g) unsalted butter, melted
- 1 cup (200g) granulated sugar
- 2 large eggs
- 2 tablespoons red food coloring
Dry Ingredients
- 1/3 cup (30g) unsweetened cocoa powder
- 1 cup (125g) all-purpose flour
Instructions
- Mix Wet Ingredients: In a large mixing bowl, combine the melted butter, granulated sugar, eggs, and red food coloring. Whisk together thoroughly until the mixture is smooth and well blended, ensuring the color is even throughout.
- Stir in Dry Ingredients: Sift in the cocoa powder and all-purpose flour into the wet mixture. Gently fold and stir the dry ingredients into the wet until just combined, being careful not to overmix to maintain fudgy texture.
- Bake Until Fudgy but Set: Pour the batter into a greased 8×8-inch baking pan. Bake in a preheated oven at 350°F (175°C) for approximately 20-25 minutes. Check doneness by inserting a toothpick in the center; it should come out with a few moist crumbs. Let cool before cutting into squares.
Notes
- Do not overbake to keep brownies moist and fudgy.
- Use high-quality red food coloring for the best vibrant color.
- Allow brownies to cool completely for cleaner slicing.
- Optional: Top with cream cheese frosting for a classic red velvet finish.
Keywords: red velvet brownies, fudgy brownies, red velvet dessert, easy brownies, chocolate brownies