Crispy Salmon Rice Bowl Recipe
Introduction
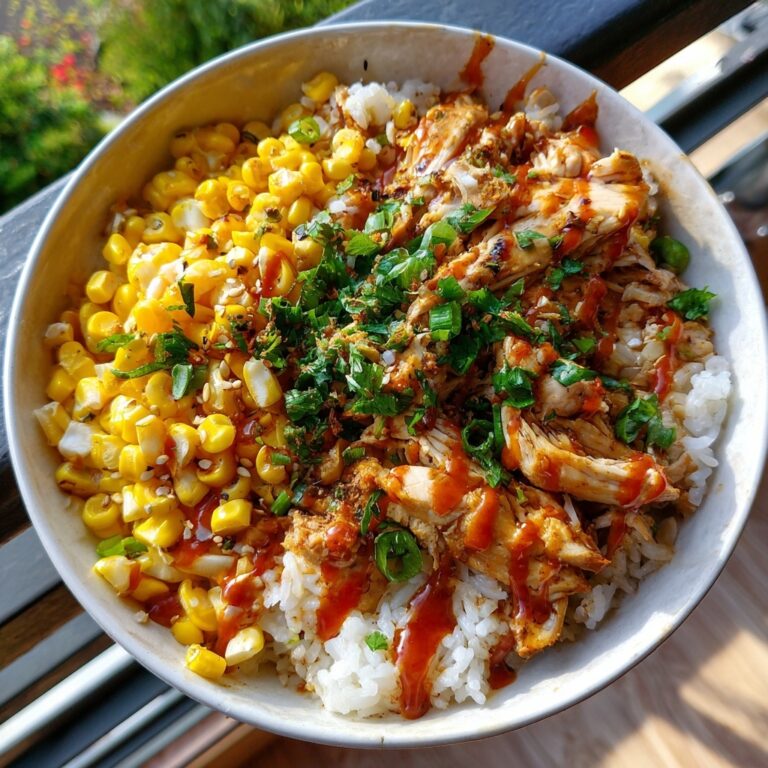
Salmon crispy rice is a delightful dish combining crispy, golden rice with tender salmon and fresh toppings. This easy-to-make recipe is perfect for a quick lunch or an impressive appetizer that balances texture and flavor.
Ingredients
- Salmon (cooked, portioned)
- Cooked rice (preferably day-old for best crispiness)
- Soy sauce
- Avocado (sliced)
Instructions
- Step 1: Heat a non-stick pan over medium heat and add a little oil. Shape the cooked rice into small patties and cook them in the pan until the bottoms are golden and crispy, about 3-4 minutes per side.
- Step 2: Place the crispy rice on a serving plate. Top each patty with a portion of cooked salmon, a drizzle of soy sauce, and sliced avocado for a creamy, fresh finish.
Tips & Variations
- Use day-old rice as it has less moisture, making it easier to get a crispy texture.
- Add a sprinkle of sesame seeds or a drizzle of spicy mayo for extra flavor.
- Substitute salmon with cooked tuna or seared scallops for different variations.
Storage
Store any leftover salmon crispy rice separately in airtight containers. Keep the crispy rice patties in the refrigerator for up to 2 days and reheat gently in a pan to maintain crispiness. Store salmon and avocado separately as avocado can brown quickly.
How to Serve
Serve this delicious recipe with your favorite sides.
FAQs
Can I use fresh rice instead of day-old rice?
Fresh rice tends to be moister, which can make the patties less crispy. It’s best to use chilled, day-old rice to get that perfect crunch.
How do I prevent the rice from sticking to the pan?
Make sure your pan is well-heated and lightly oiled before adding the rice patties. Using a non-stick pan also helps prevent sticking and allows for easier flipping.
PrintCrispy Salmon Rice Bowl Recipe

Salmon Crispy Rice is a delightful fusion dish featuring crispy pan-fried rice topped with tender cooked salmon, drizzled with savory soy sauce, and garnished with creamy avocado for a perfect balance of textures and flavors.
- Prep Time: 10 minutes
- Cook Time: 15 minutes
- Total Time: 25 minutes
- Yield: 2 servings 1x
- Category: Main Course
- Method: Frying
- Cuisine: Fusion
- Diet: Low Fat
Ingredients
For the Salmon Crispy Rice
- 1 cup cooked sushi rice (preferably cooled)
- 6 oz cooked salmon, flaked or sliced
- 1 tablespoon soy sauce
- 1/2 avocado, sliced
- 1 tablespoon vegetable oil (for frying rice)
Instructions
- Prepare the crispy rice: Heat the vegetable oil in a non-stick pan over medium heat. Add the cooled cooked rice, pressing it down gently with a spatula to form a compact layer. Cook undisturbed for 5-7 minutes until the bottom is golden brown and crispy.
- Flip and crisp other side: Carefully flip the rice over to crisp the other side for an additional 5 minutes. Once both sides are crispy, remove the rice from the pan and transfer to a serving plate.
- Top with cooked salmon: Evenly spread the cooked salmon over the crispy rice layer.
- Add avocado slices: Arrange the avocado slices on top of the salmon for creaminess and added flavor.
- Drizzle with soy sauce: Lightly drizzle soy sauce over the assembled crispy rice, salmon, and avocado to enhance the taste. Serve immediately while the rice is still warm and crispy.
Notes
- You can use leftover cooked rice chilled in the refrigerator; this helps achieve better crispiness.
- Ensure the salmon is cooked beforehand, either baked, grilled, or pan-seared.
- Optional toppings can include sliced green onions, sesame seeds, or a drizzle of spicy mayo for extra flavor.
- Use a non-stick pan to prevent sticking while frying the rice.
- This dish is best served fresh to retain the crispiness of the rice.
Keywords: Salmon Crispy Rice, crispy rice, pan-fried rice, salmon recipe, avocado, soy sauce, easy dinner, fusion cuisine