Healthy Date Candy Bars Recipe
Introduction
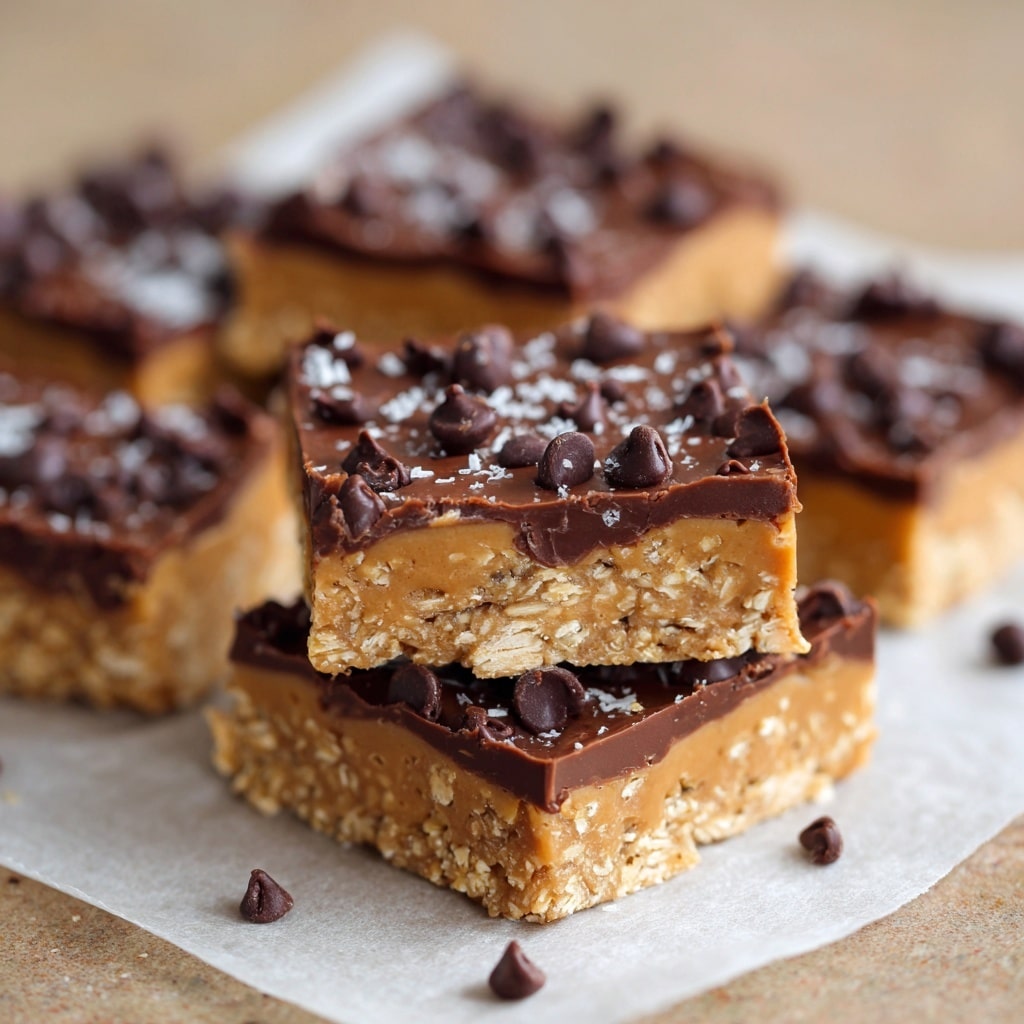
These Healthy Date Candy Bars offer a deliciously sweet treat made with simple, wholesome ingredients. Perfect for a quick energy boost or a guilt-free dessert, they combine natural sweetness with rich nut butter and chocolate.
Ingredients
- 2 cups pitted dates
- 1 cup nut butter (such as almond or peanut butter)
- 1/2 cup dark chocolate chips
Instructions
- Step 1: In a food processor, blend the dates until they form a sticky, dough-like consistency.
- Step 2: Press half of the date mixture evenly into the bottom of a lined baking pan.
- Step 3: Spread the nut butter evenly over the date layer.
- Step 4: Top with the remaining date mixture and press gently to form a smooth layer.
- Step 5: Melt the dark chocolate chips in a microwave or double boiler, then pour over the top layer, spreading evenly.
- Step 6: Chill the bars in the refrigerator for at least 1 hour until firm.
- Step 7: Once firm, cut into bars and enjoy.
Tips & Variations
- For extra crunch, add chopped nuts or seeds to the nut butter layer.
- Use natural nut butters without added sugars for a healthier option.
- Try topping with shredded coconut or sea salt before chilling for added flavor.
Storage
Store the bars in an airtight container in the refrigerator for up to one week. For longer storage, freeze them for up to three months. Allow frozen bars to thaw in the fridge before serving.
How to Serve
Serve this delicious recipe with your favorite sides.
FAQs
Can I substitute the dates with another dried fruit?
While dates work best for their sticky texture, you can try using dried figs or raisins, but the bars may be less firm and slightly different in taste.
Is it necessary to chill the bars?
Yes, chilling helps the layers to set firm and makes the bars easier to cut and handle.
PrintHealthy Date Candy Bars Recipe

These Healthy Date Candy Bars are a simple, nutritious treat made with natural ingredients like dates, nut butter, and chocolate. They require no baking and come together quickly, making them a perfect guilt-free snack or dessert option that’s rich in fiber, protein, and healthy fats.
- Prep Time: 10 minutes
- Cook Time: 0 minutes
- Total Time: 2 hours 10 minutes
- Yield: 8 bars 1x
- Category: Snack
- Method: No-Cook
- Cuisine: American
- Diet: Gluten Free
Ingredients
Ingredients
- 1 cup pitted dates
- 1/2 cup nut butter (such as almond or peanut butter)
- 1/2 cup dark chocolate chips or chopped dark chocolate (70% cocoa or higher)
Instructions
- Prepare Dates and Nut Butter Layer: In a food processor, blend the pitted dates until they form a sticky, coarse paste. Spread the nut butter evenly over the date mixture in a lined pan or container.
- Layer with Chocolate: Melt the dark chocolate gently using a double boiler or microwave in short bursts, stirring frequently to avoid burning. Pour the melted chocolate over the nut butter layer, spreading it evenly.
- Chill Until Firm: Place the layered mixture into the refrigerator and chill for at least 2 hours, or until the chocolate hardens and the layers are set firmly.
- Cut and Serve: Remove from the refrigerator and cut into bars or squares. Serve immediately or store in an airtight container in the fridge for up to one week.
Notes
- Use dates that are soft and fresh for the best texture, or soak dry dates in warm water for 10 minutes before blending.
- You can customize nut butter types based on preferences or dietary needs.
- To make these bars vegan, ensure that the chocolate used is dairy-free.
- If you prefer a firmer bar, freeze the candy bars after chilling for 30 minutes before cutting.
- This recipe is naturally gluten-free and dairy-free when using suitable ingredients.
Keywords: healthy date bars, no-bake snack, gluten free dessert, natural sweetener bars, easy healthy treats